How to Preserve Olives
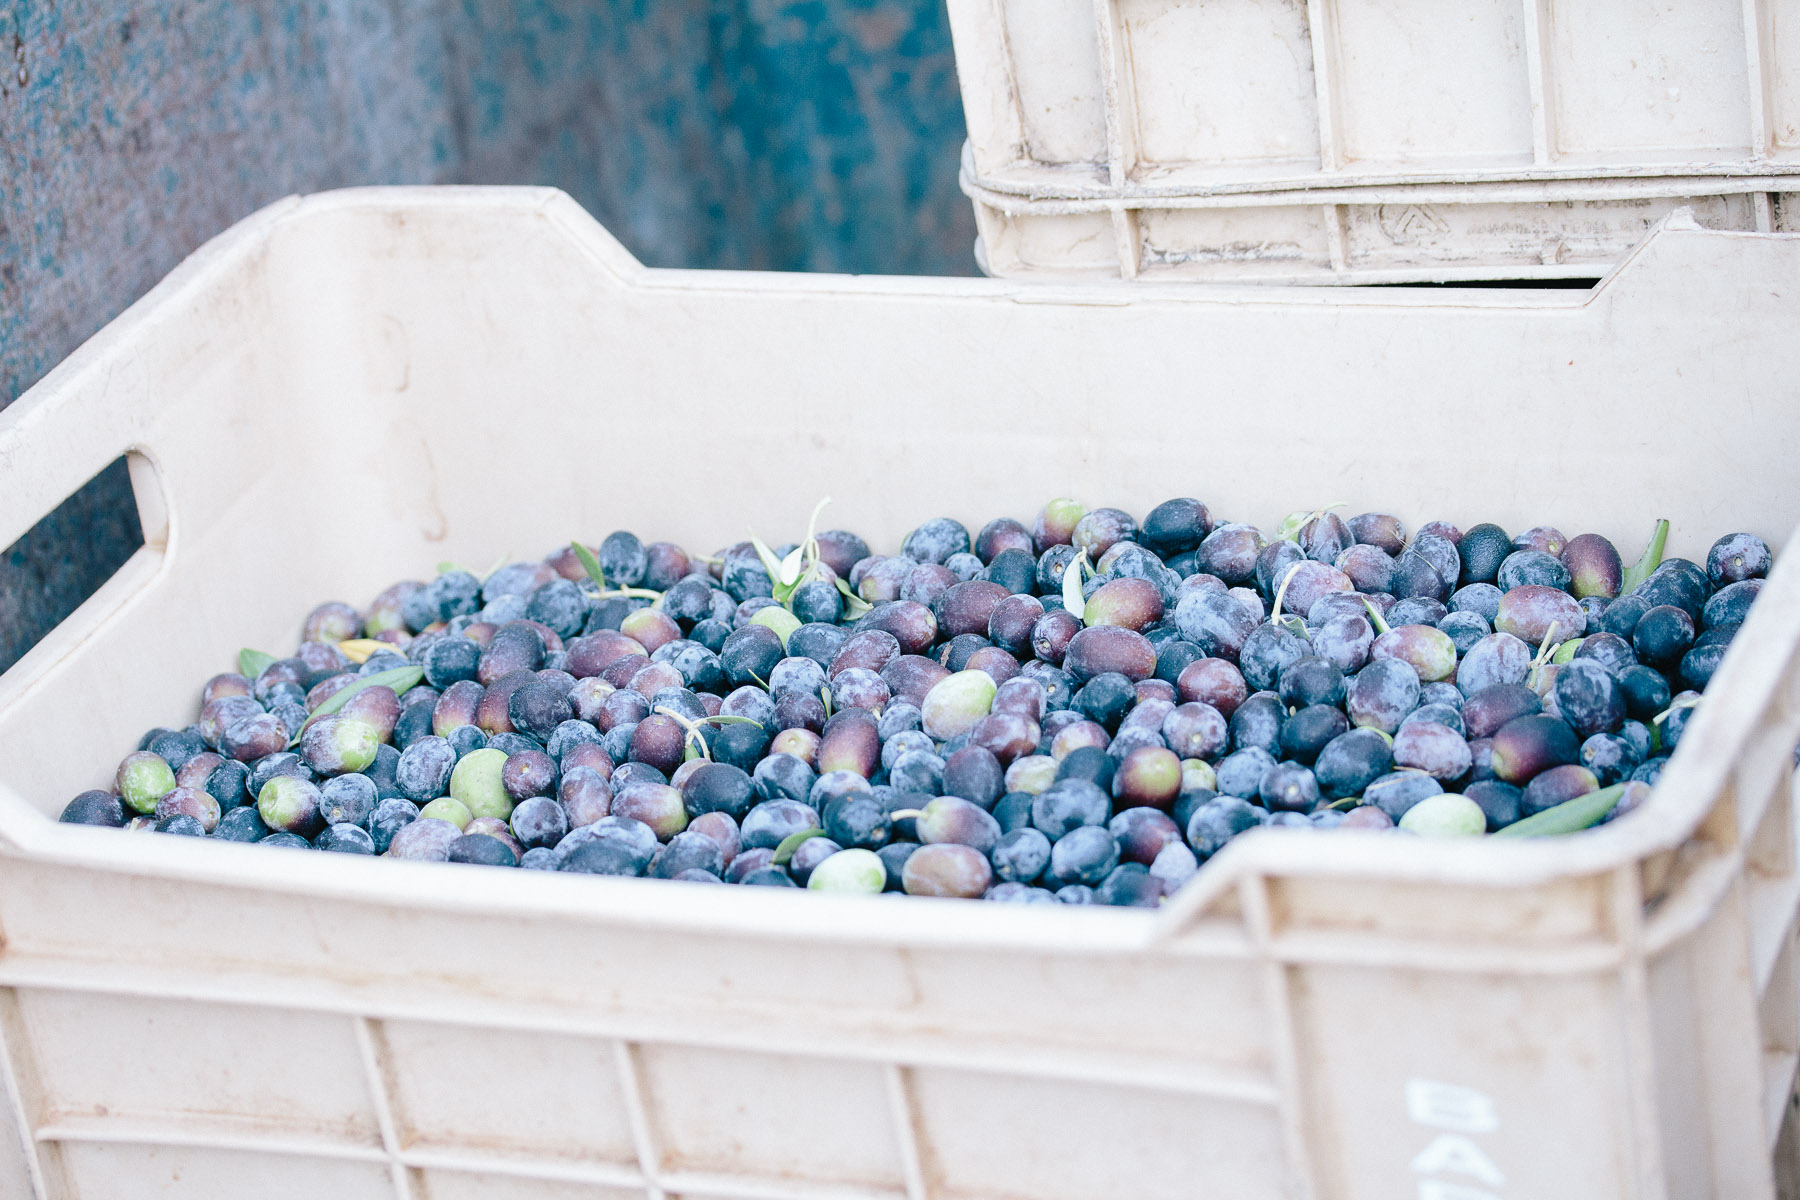
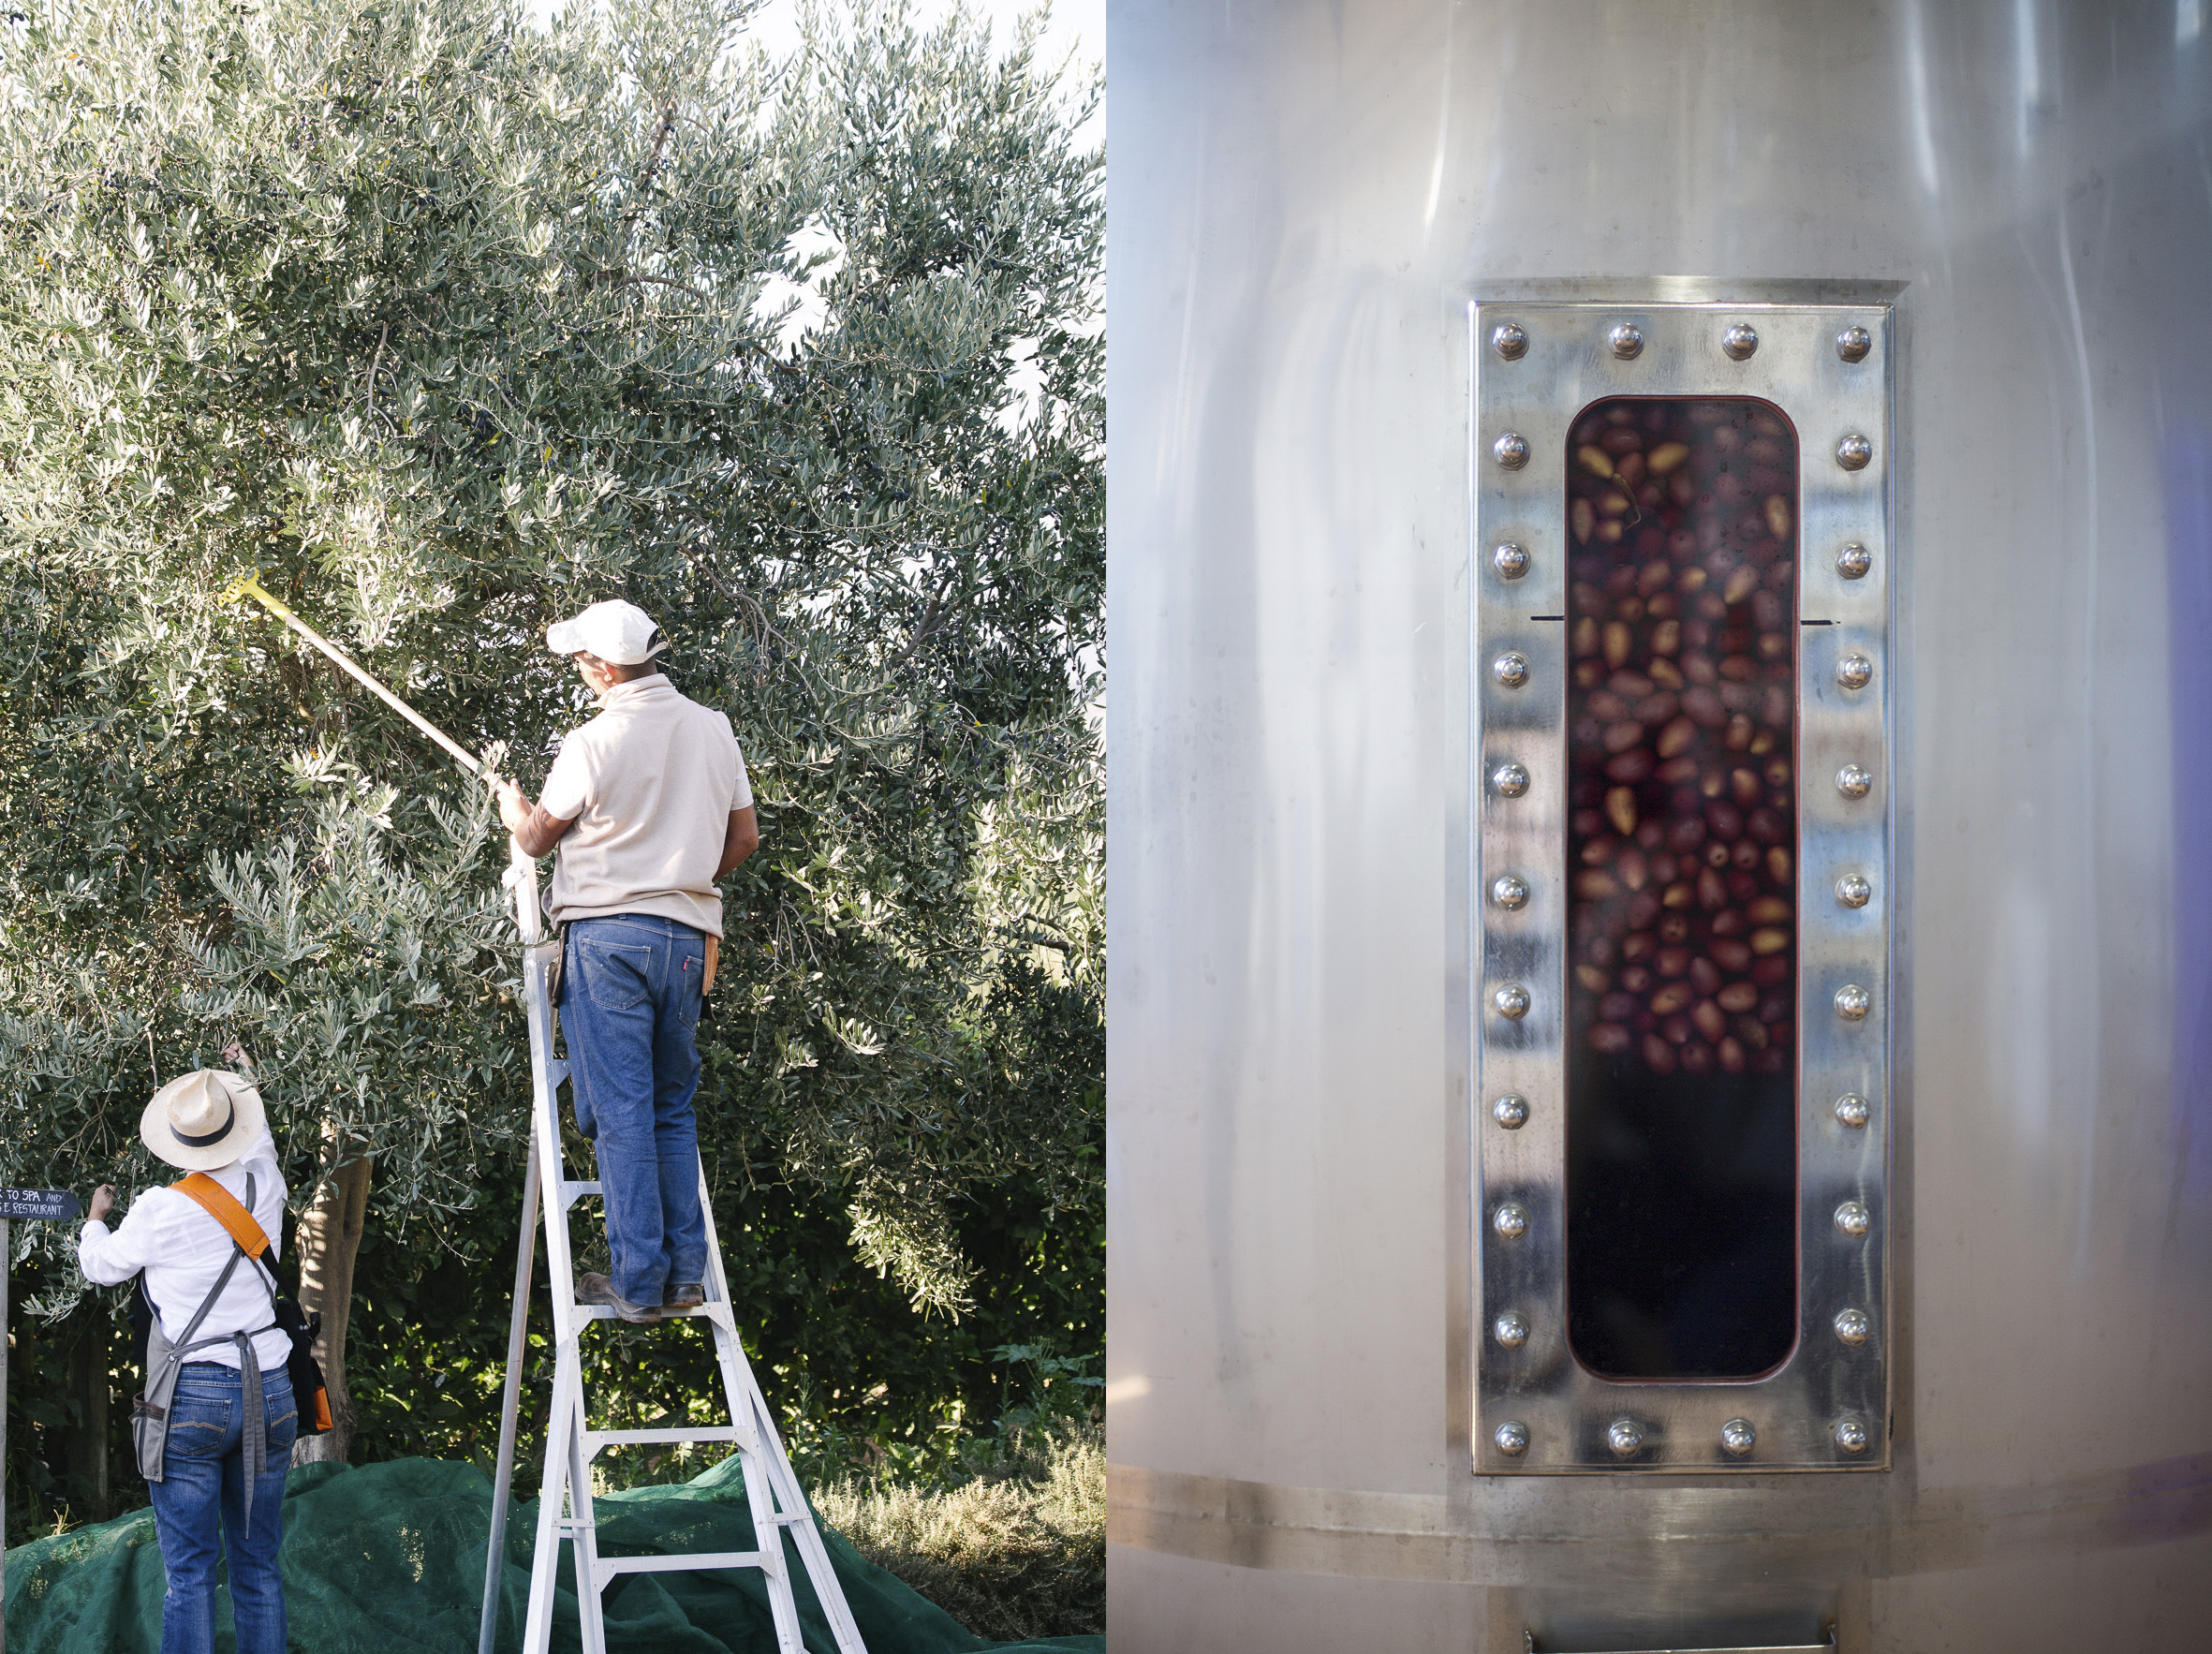
April 28th, 2016On the farm we use most of our olives to make extra virgin olive oil – a medium style, but complex blend of five cultivars: Frantoio, Mission, Don Carlou, Leccino and Corratina. We also preserve the whole fruits in brine or salt for the two restaurants, black calamata and green Nonchellara olives.
Olive trees are still covered with black fruits at the moment, and you too can boast with your very own preserved olives – all it takes is a bit of handiwork and patience. The process is simple and the end product well worth the wait.
To preserve its characteristic fruity and slightly bitter taste, olives can be pickled or dried. Key to the process is salt, which draws out some of the fruit’s pungent bitterness and unlocks its best flavour qualities.
Important to remember: All olive varieties start off green and turn black as they ripen. Green olives are harvested when the fruits have reached full size, but before it darkens in colour. These will have a more zesty taste whereas ripened black olives are softer on the palate with a full-bodied taste. Here’s how we preserve our olives in brine.
Preserving olives in brine
Preparation:
- Place fresh black olives (harvested or bought) in a basket to prevent bruising
- Remove any diseased or damaged fruit
- Wash olives with clear water to remove dust and leaves
To make the brine:
- Add 1kg salt to 10 litres of water (1:10) and mix to dissolve.
- To test if it’s sufficiently salty, make a solution of 5%, 7% and 10% by adding 50g, 60g and 100g of salt to a litre water. Then add a raw egg and determine how much of the egg is visible above the surface of the water in each solution. Put the same egg in the olive brine to determine the salt concentration. If it sinks, more salt should be added to the water.
To process olives:
- To quicken fermentation, make a vertical cut in each olive with a sharp knife. Whole olives can be used, but will take longer to de-bitter and preserve
- To prevent bruising of olives fill a bucket with a few litres of brine before adding the olives. For processing about 10-13kg of fresh olives, a 20-litre bucket will be sufficient
- Add the rest of the olives to the bucket and cover with brine
- Cover the bucket with a lid, but do not seal tight. This will allow fermentation gases to escape and prevent dust from gathering on the surface
- Keep the olives in a cool room away from sunlight
- To activate the debittering process and mix in the salt gathered at the bottom of the bucket, regularly stir the olive and brine mixture (especially in the first two weeks)
- Continue checking and stirring the olives regularly. The salt level needs to be maintained at 10% throughout the process. If the salt level drops below 6% there is a chance of spoilage.
- Regularly taste the olives for bitterness. The debittering process requires some patience, seeing as it can take up to six months
*A white layer of yeast might form on top of the water. This just shows that fermentation is taking place, so nothing to be concerned about.
To bottle:
- Lay the olives on a towel for a few hours to oxidate
- Place olives in a clean bucket and soak in vinegar for 12 hours to stop the fermentation process
- Sterilise jars or bottles prior to bottling olives. There are plenty of ways to do this – in the
oven, microwave, dishwasher or even on the stove - Bottle the olives in 6% brine solution (salt water) adding 1 cup of vinegar to every 4 litres
of brine. For extra flavour, herbs such as rosemary can be added to the brine - After filling the jars or bottles, top the brine with 1cm layers of good olive- or
vegetable oil and secure with lids
Pickled olives are old favourites on tapas boards and salads, but our chefs combine it with chocolate! Try the dark chocolate terrine with olives and walnuts from the Babel cookbook.
Preserving Olives in Salt
If preserving in brine sounds like too much work, you can always preserve your olives in salt. Liesl shows you how.


