How To Press Plants to make a Herbarium
May 5th, 2020The art of pressing plants has long been a favourite childhood activity – children and parents would press flowers with heavy books to make lovely decorations and bookmarks. In fact, plant pressing dates back hundreds of years and was used to preserve plants for botanical research.
To identify plants and their families, botanists created herbariums to carefully store dried plant specimens. The fascination to identify and name plants – especially the edible, medicinal and useful ones – later became much easier with the international acceptance of Linnaeus’s binomial system. This system allows us to understand and group plants focusing on its reproductive organs: pollen, petals, stigma, etc.
But why would one still press plants?
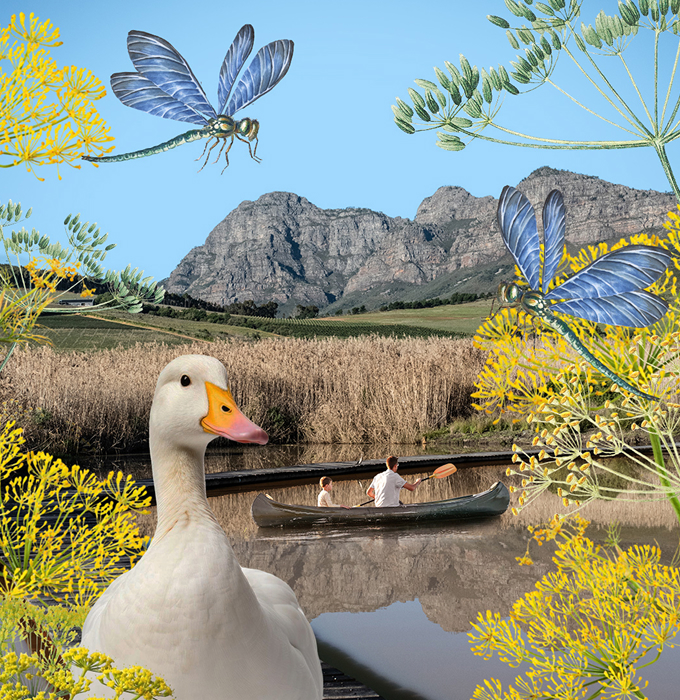
Plant pressing helps one to get to know the plants in the garden as well as in the veld – natural areas have a rich diversity of plant species. At Babylonstoren, we pick, press and frame some of our favourite plants to display and share with our visitors and team; it is yet another way to display the abundance in our gardens.
The essence of plant pressing is beautifully captured by our head gardener, Liesl, “I find that the more plants I can identify, the more I see; this makes every walk outside an interesting one. Plants I know are like friends, I love seeing them. We now mostly rely on photographs as records of our plants, but when I have time, I pick and press them. Framed, the colours and textures are beautiful, but it also captures something that reminds me of our long journey to yet come to understand the fascinating world around us.”
How To Press Plants at Home
You will need
- A plant press – you can make your own using hardboard or plywood.
- Sheets of white paper for the drying process.
Mounting tools
- Mounting tools
- Garden Scissors
- Double-sided tape
- Masking tape
- NT cutter or craft knife
- Cutting mat
- Steel ruler
- A4-size cardboard to mount onto
1. Choose your plants
· Choose plants that feel dry to the touch. When you rub them between your fingers, they should not be moist – so no juicy plants such as succulents.
· Deciduous trees and citrus trees very quickly drop their leaves after drying, so it is not worth going to the trouble of pressing them.
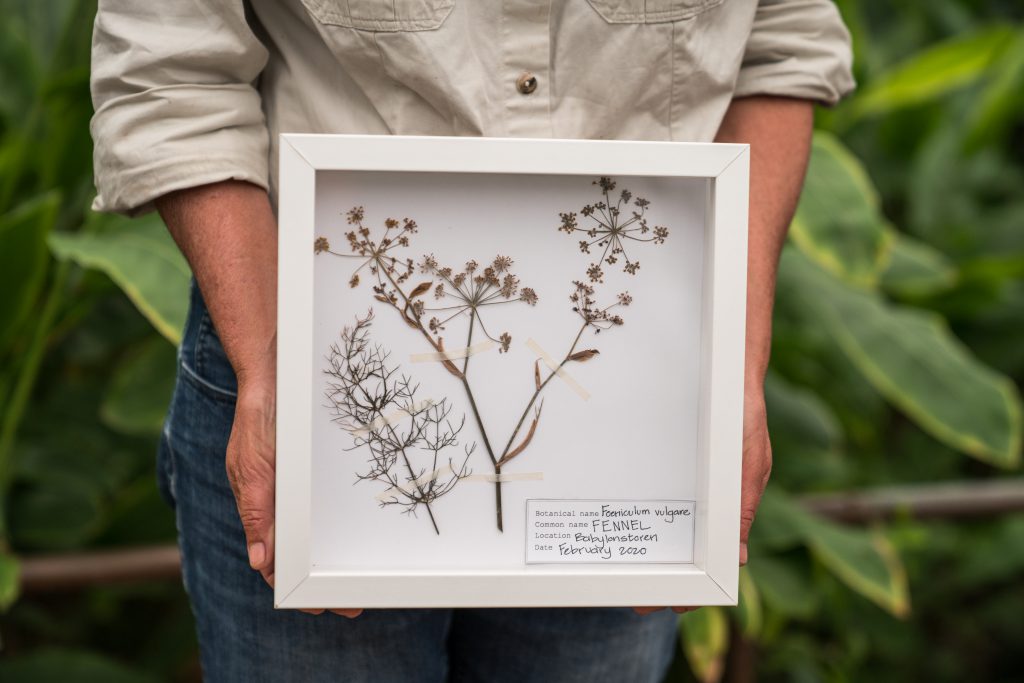
· Choose one to three branches with an attractive form, measuring approximately 30 cm in length. Keep in mind that you will be mounting them to an A4-size cardboard.
· If the plant has flowers/seeds/fruits, make sure that these are included on one of the branches.
· Cut an extra flower/seed/fruit or two.
· You can pull out the plant with its roots or bulb intact – this also makes a beautiful plant picture.
· To avoid confusion later on, keep all parts belonging to one plant separate from the parts of other plants.
2. Sort and lay out
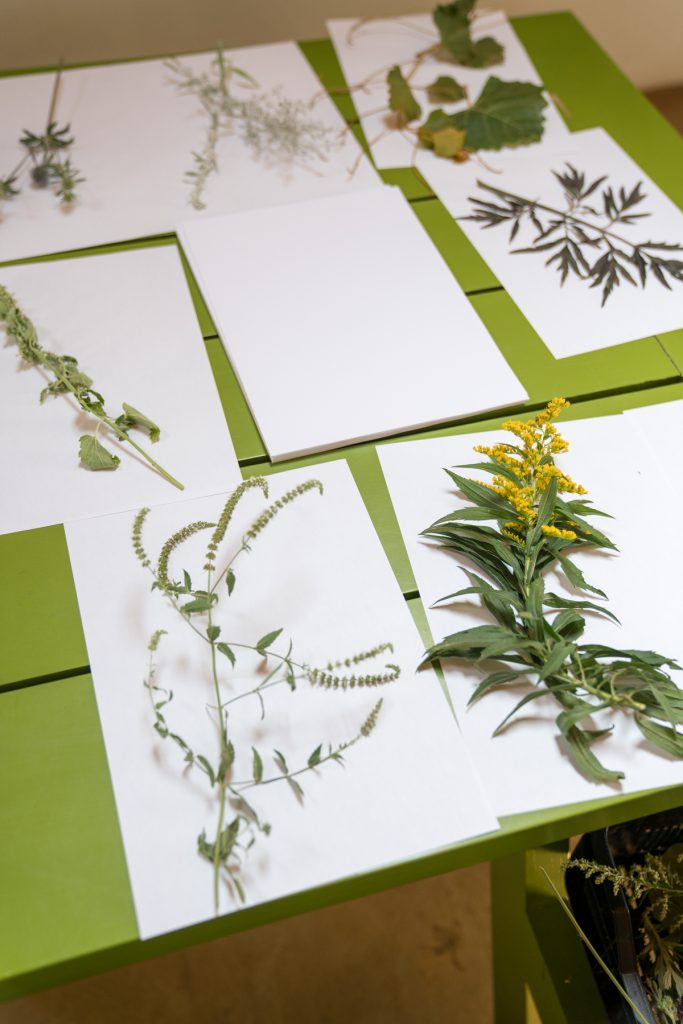
· Cut away unnecessary bits from branches, as well as unattractive leaves.
· Lay the plants out on a table.
3. Dry
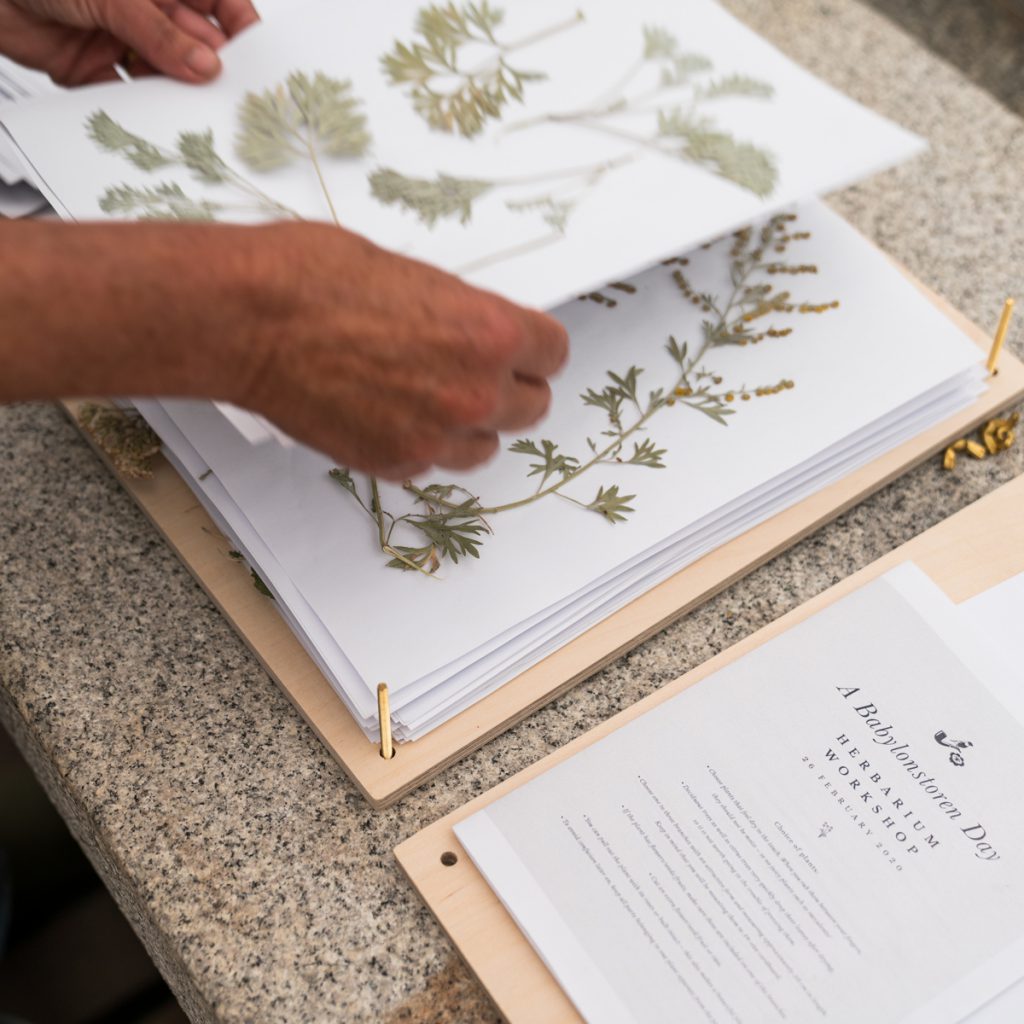
· Put four sheets of paper at the bottom of your press.
· Arrange your first plant on the paper. Be careful that the sprigs and other plant elements do not touch. If they do, they’ll stick together.
· Put four more sheets of paper on top.
· Repeat until all your plants are in the press and then screw down.
· Replace the paper. For the first two weeks, replace the paper every second day as the plants are still damp and can easily become mouldy. When you see that the plant is becoming drier, you can allow longer stretches of time before you replace the paper. The whole process takes approximately six weeks.
TIP: Dry wet paper on a dish rack and reuse time and again.
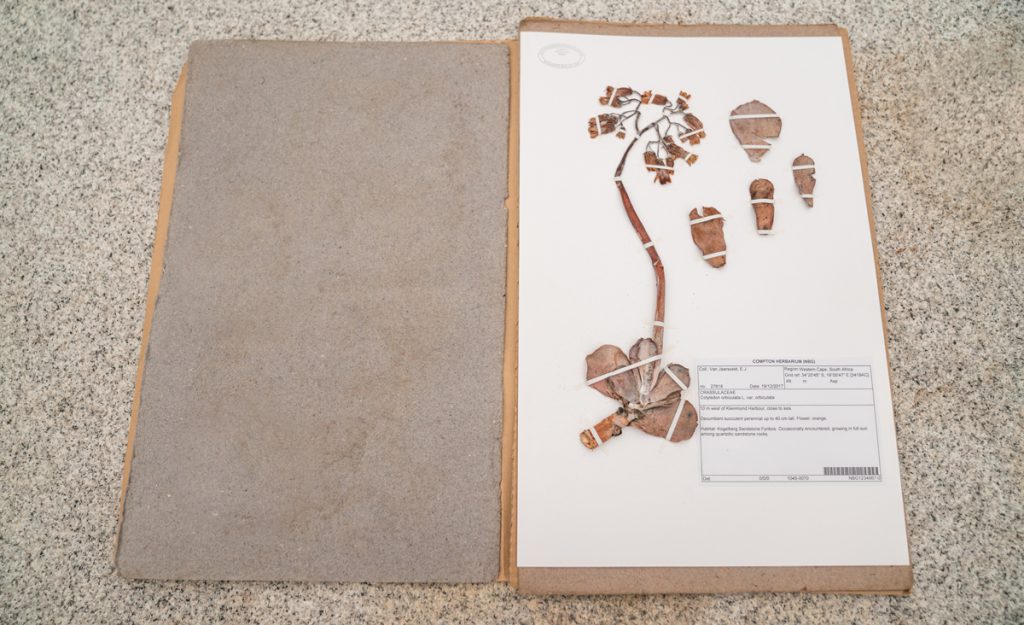
4. Mount

· Place a piece of cardboard in front of you, with the dried plant within reach.
· Choose the parts of the dry plant that you plan to use, cut back if too large and place on the cardboard.
· Place the name tag somewhere on your cardboard.
· Apply a long piece of double-sided tape to your cutting mat, about the size of your dried plant. Remove the backing layer and cut the required length using your cutter or knife.
· Use the tip of your knife to carefully lift the plant. (It’s useful to have a second sharp tip to do the lifting.) Stick the piece of double-sided tape that you’ve cut, and slide under the plant. Apply pressure.
· Fix all loose bits using the same method.
· Cut thin strips of masking tape on your cutting board using your cutter or knife. Stick across the plant’s stems and loose parts.
Give special attention to the following
· Plants with fine leaves and seeds run the risk of falling apart. These require more time and have to be mounted individually, otherwise they will start falling off.
· Thick stems have to be cut thinner.· Fruits such as pomegranates and figs can be dried successfully if the fruits are still unripe and not too fleshy and moist. Therefore, choose young, small fruits. To dry, cut away half and cover with extra paper during the drying process as it can easily mould.